- Home
- For Students
- Registration & Classes
- Registration Tutorial
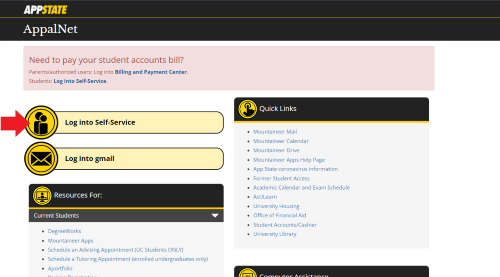
- From your web browser, go to the Appalachian State University home page and click on the "AppalNet" icon.

- Click on "Log into Self-Service".
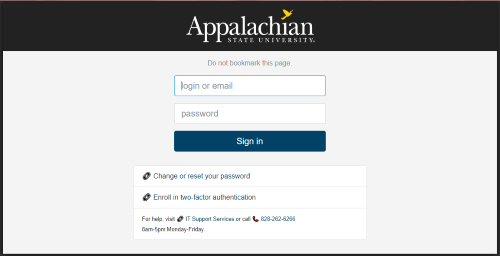
- Enter your App State User Name and Password and click Sign in and approve the push notification.
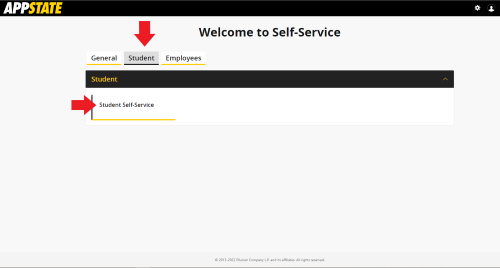
- Select the Student tab and click on Student Self-Service.
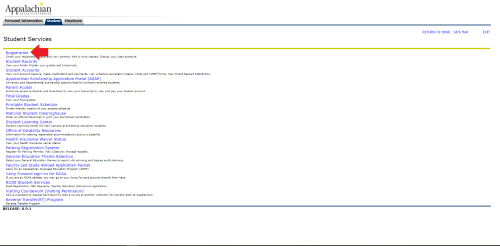
- Select Registration to access registration and student information.
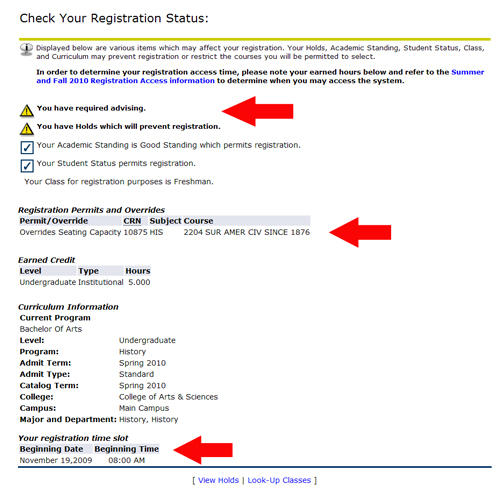
- Select the Check Your Registration Status link and select the correct term to view the following information:
- Information about required advisement and/or registration holds.
- Any permit/overrides that have been submitted
- The date and time of your initial registration access. Access to the registration system is based on your earned institutional and transfer hours. (After initial access is granted, the registration system will be available 24 hours a day and 7 days a week during the schedule registration period.)
- If Required Advisement is noted on the "Check Your Registration Status" page, schedule an appointment with the University Office indicated prior to your access date and time. All registration holds indicated in this notification must be cleared with the appropriate University office.
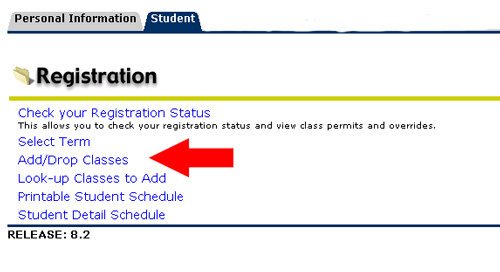
- To add or drop classes, select the Add/Drop Classes link from the Registration menu.
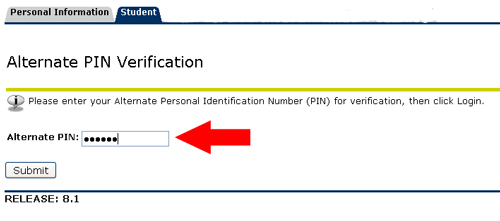
- If required, enter your six digit Alternate PIN Number and click on the SUBMIT button.
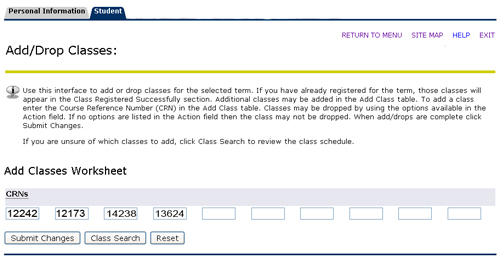
- Enter all CRNs (Course Reference Numbers) in the Worksheet for courses from your planned schedule and SUBMIT CHANGES.
- You may use the Look Up Classes link, check the "Select" check box for each CRN and then click on the "Register" button to process your request immediately. Some courses have special notes listed below the course with details about the class dates, fees, requirements, etc.
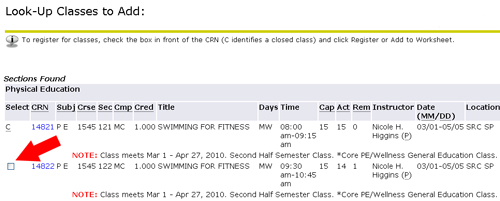
- If the "Select" check box is not available to check, you may see a code beside it.
- A "C" means that the class is closed and there are no available seats.
- A "NR" means that the course is not available for registration at this time.
- A "SR" means that the student is restricted from registering for one of the following reasons: the student's time ticket (appointment time), a hold on the student's record, the student's academic standing or status.
- Other menu options can be accessed by scrolling down to the bottom of the screen.
- When all transactions are complete, click on the Logout icon.
Registration Tips
- The codes in the 'Days' column represent the following: M = Monday, T = Tuesday, W = Wednesday, R = Thursday, F = Friday, S = Saturday, U = Sunday
- Single click on all links and buttons. Double clicking may result in your being logged out ('Login expired' message).
- If a course is closed (has a "C" beside it) but you have received a Capacity Permit from the department, view the permit and CRN on the "Check Your Registration Status" page and enter the CRN on the Worksheet.
- If a course has a co-requisite (i.e. a lab), enter the CRNs for both courses (i.e., lecture and lab) to the worksheet and select SUBMIT to complete the transaction.
- If you are logged in for a period of time without performing any action, your login will expire.
- Your Alternate PIN is a six digit number. Occasionally a student will get only get the last three digits of the Alternate PIN. For example, if the Alternate PIN is given as 123, the Alternate PIN must be added as 000123.
- Waitlisting information is available online.
Common Registration Errors


